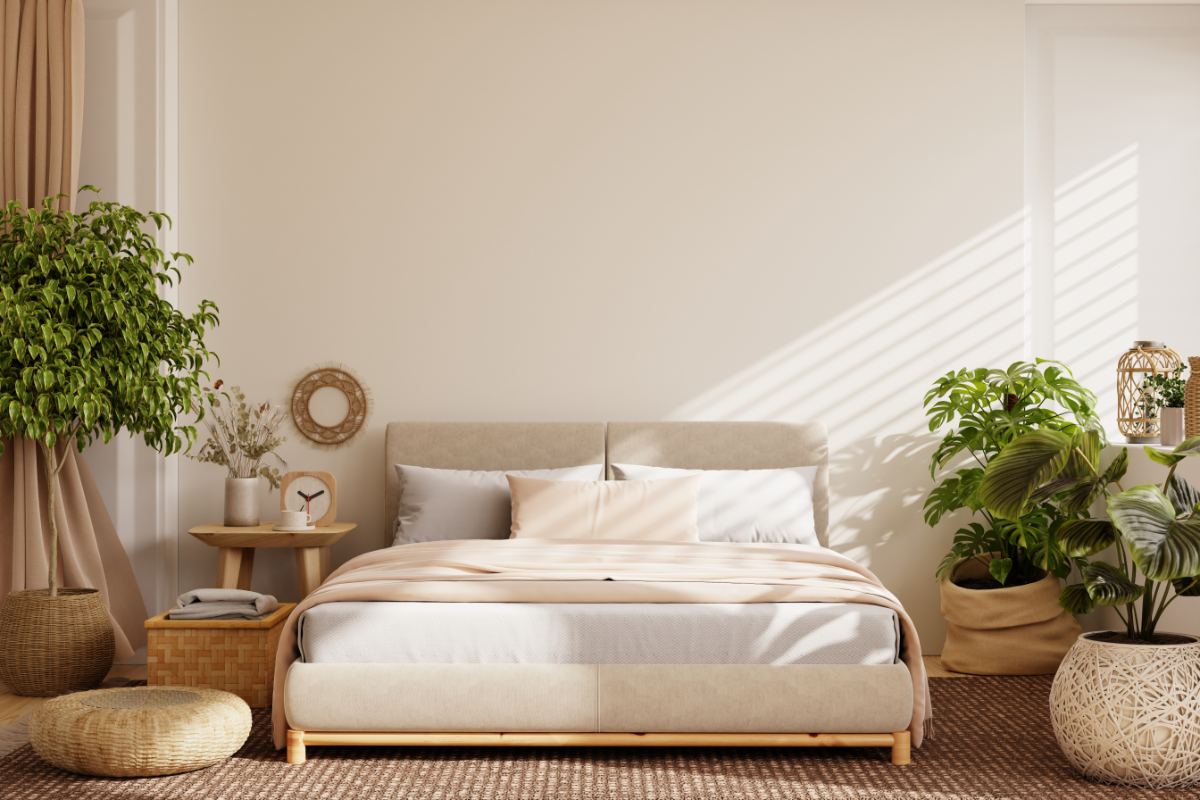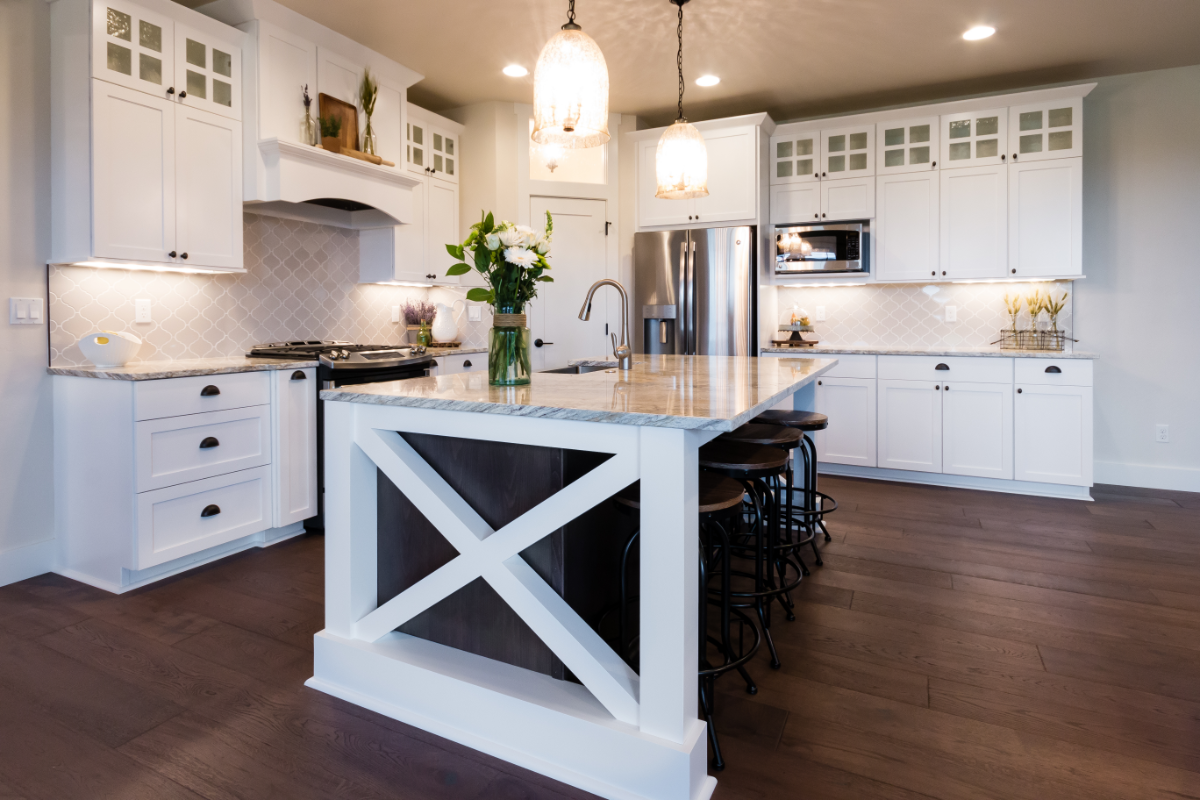
Farmhouse-style décor has become a timeless trend, celebrated for its rustic elegance, cozy aesthetic, and ability to make any space feel warm and inviting. Central to this design is the iconic shiplap wood wall—a feature that exudes charm while providing versatility for various room styles. From living rooms to bedrooms, shiplap walls have the power to transform plain spaces into statement areas full of character and texture.
What makes shiplap so appealing is its simplicity and adaptability. Whether painted white for a classic farmhouse look, stained for a more rustic vibe, or left natural for a contemporary twist, shiplap fits seamlessly into many interior design themes. Better yet, creating your own shiplap wall is an achievable DIY project that can save money and add a personalized touch to your home.
In addition to its aesthetic value, a shiplap wall offers practical benefits. It can add dimension to smaller rooms, create focal points in larger spaces, and even serve as a backdrop for artwork or furniture. Shiplap also pairs beautifully with other materials, such as exposed brick, metal accents, or natural wood elements, making it an ideal choice for both modern and traditional interiors.
Furthermore, shiplap is a perfect solution for renters and homeowners alike. If you’re in a rental space, peel-and-stick shiplap options allow you to enjoy the look without the need for permanent installation, making it easy to remove when it’s time to move. For homeowners, the installation of shiplap can increase the overall value of your property, making it a smart investment that enhances your home’s appeal.
In this article, we’ll guide you through the steps to create a stunning shiplap wood wall that brings the essence of farmhouse design into your home. From selecting the right materials to mastering the installation process, you’ll learn everything you need to know to make this project a success. Let’s get started on crafting a space that feels both stylish and uniquely yours.
Understanding the Farmhouse Aesthetic: What Makes It Special?
The farmhouse aesthetic blends rustic charm with modern simplicity, creating a style that feels warm, welcoming, and timeless. Key elements include neutral color palettes, natural materials like wood and stone, and functional yet stylish furniture. The shiplap wood wall is a hallmark of this design, adding texture and visual interest while maintaining a clean and understated look. Farmhouse style is versatile, easily complementing other design themes, such as industrial or coastal decor, making it a popular choice for homeowners.
Materials You’ll Need for Your DIY Shiplap Wall
Before diving into your project, gather the necessary materials:
- Wood Panels: Pine, cedar, or plywood are popular choices.
- Measuring Tape: To ensure precise cuts and spacing.
- Saw: A circular saw or jigsaw for cutting the wood.
- Sandpaper: For smoothing edges and surfaces.
- Paint or Stain: To achieve your desired finish.
- Nails or Adhesive: To secure the panels to the wall.
- Level: To ensure straight alignment.
- Trim Pieces: For finishing edges.
- Safety Gear: Gloves, goggles, and a dust mask for protection.
Having the right tools and materials will make the installation process smoother and more efficient.
Choosing the Right Wood: Types, Sizes, and Finishes
The type of wood you choose significantly impacts the final look of your shiplap wall.
- Pine: Affordable and easy to work with, pine is ideal for painted finishes.
- Cedar: Naturally resistant to moisture and decay, cedar is excellent for bathrooms or kitchens.
- Plywood: A budget-friendly option that can mimic the appearance of more expensive wood.
When selecting wood, consider the size and thickness of the planks. Wider planks give a more modern look, while narrower ones evoke a classic farmhouse feel. Additionally, decide whether you’ll paint, stain, or leave the wood natural to align with your room’s style.
Preparing Your Wall: Surface Cleaning and Measurements
Preparation is crucial for a successful DIY project:
- Clean the Wall: Remove dirt, dust, and any loose paint to ensure proper adhesion.
- Measure the Space: Use a measuring tape to calculate the wall’s dimensions, ensuring you purchase enough wood.
- Mark Guidelines: Use a level to draw horizontal lines as guides for plank placement. This will help you maintain consistent spacing and alignment during installation.
Cutting and Treating the Wood for a Farmhouse Look
Once your materials are ready, cut the wood planks to fit your wall’s dimensions:
- Measure Twice, Cut Once: Double-check measurements to avoid mistakes.
- Sand Edges: Smooth the edges with sandpaper to prevent splinters and create a polished appearance.
- Pre-Treat the Wood: If staining, apply a wood conditioner to ensure even absorption. For painting, use a primer for better coverage.
Installation Techniques: Nailing, Adhesives, and Spacing Tips
Installing shiplap can be done using nails or adhesive, depending on your wall’s condition and preference:
- Nailing: Use a nail gun or hammer to secure planks into studs for maximum stability.
- Adhesive: A strong construction adhesive can work for smooth surfaces but may be harder to remove later.
- Spacing: Maintain consistent gaps between planks, typically ⅛ inch, to achieve the classic shiplap look. Use spacers to ensure uniformity.
Painting or Staining the Shiplap: Achieving a Rustic Finish
The finish you choose sets the tone for your shiplap wall:
- Painting: A matte white or neutral paint color creates a clean, classic farmhouse look.
- Staining: A wood stain enhances natural grain patterns and gives a rustic feel.
- Distressing: For a weathered appearance, lightly sand edges and apply a dark glaze.
Apply paint or stain with a brush or roller, ensuring even coverage. Allow each coat to dry thoroughly before adding another.
Finishing Touches: Trimming, Sealing, and Decorating
After installing and finishing your shiplap wall:
- Add Trim: Use trim pieces to cover gaps or rough edges for a professional look.
- Seal the Surface: Apply a clear sealant to protect the wood and enhance durability.
- Decorate: Complement the wall with farmhouse-style accents like vintage frames, wreaths, or floating shelves.
Common Mistakes to Avoid in Your DIY Shiplap Project
Avoid these pitfalls to ensure your project’s success:
- Skipping Wall Preparation: Failing to clean or level the wall can lead to poor adhesion or alignment.
- Inconsistent Spacing: Uneven gaps between planks can detract from the overall look.
- Using Low-Quality Materials: Cheap wood or adhesive may not hold up over time.
- Rushing the Finish: Allow paint or stain to dry fully for the best results.
By keeping these tips in mind, you can create a stunning shiplap wall that transforms your space into a farmhouse haven.
Transforming Your Space with a DIY Farmhouse Shiplap Wall
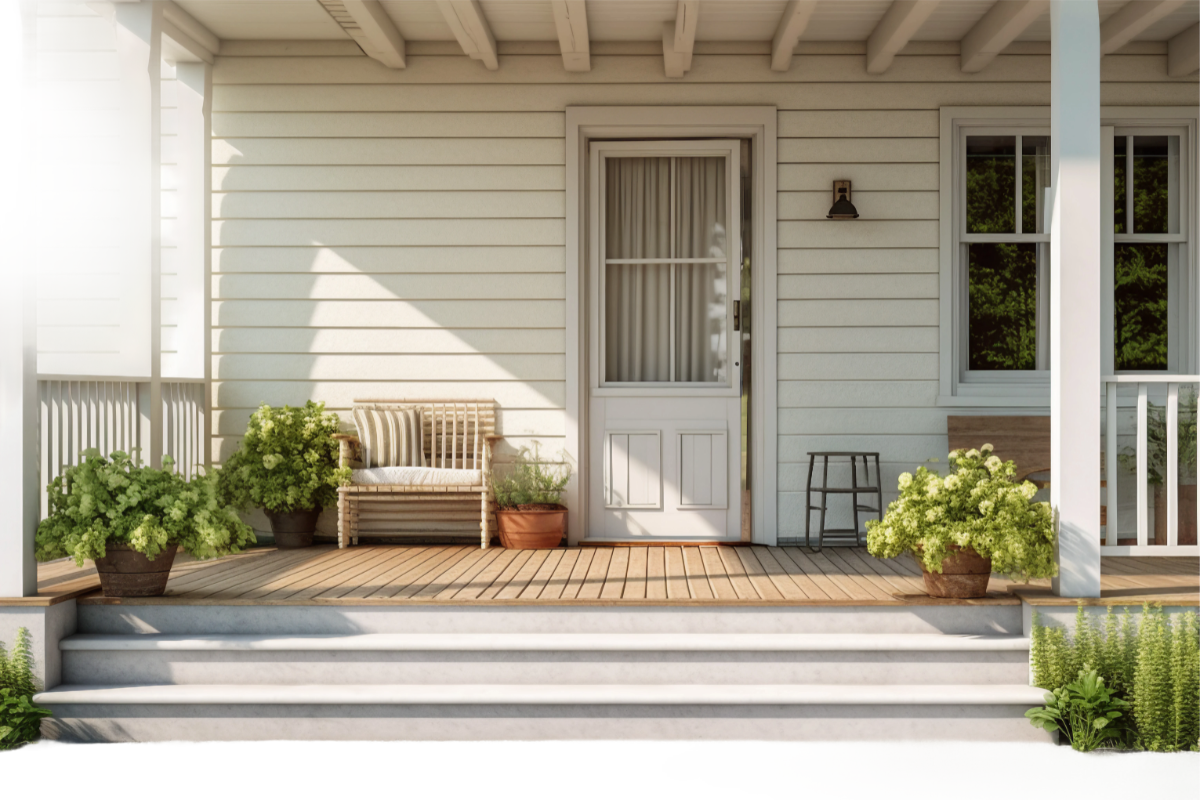
A DIY farmhouse shiplap wall is more than just a design project; it’s an opportunity to infuse your home with charm, warmth, and personality. Whether you’re revamping a living room, creating a cozy bedroom retreat, or adding rustic elegance to an entryway, shiplap walls bring a timeless appeal that complements any interior style.
By opting for a DIY approach, you not only save money but also enjoy the satisfaction of personalizing your space. With peel-and-stick options or traditional wood panels, the process is accessible to both seasoned DIY enthusiasts and beginners alike. The versatility of shiplap allows you to experiment with colors, finishes, and layouts to reflect your unique taste.
Beyond aesthetics, a shiplap wall can enhance your home’s value and serve as a conversation starter for guests. It’s a project that marries function with flair, offering both visual interest and a sense of accomplishment.
So, roll up your sleeves, gather your materials, and let your creativity shine. With careful planning and a little effort, you can transform any room into a farmhouse-inspired haven that you’ll cherish for years to come.
Adding a shiplap wall doesn’t just improve the appearance of your home; it also creates a sense of coziness and connection. The natural textures and warm tones of shiplap evoke a comforting, lived-in feel that makes your space more inviting. This touch of rustic charm works equally well in modern, traditional, and eclectic interiors, bridging styles effortlessly.
The beauty of a DIY shiplap wall lies in its adaptability. You can use it to highlight a focal point, such as a fireplace or headboard, or as a subtle feature to enhance an entire room. Its ability to work in spaces of all sizes makes it ideal for both small apartments and large homes. Whether painted white for a classic farmhouse look or stained for a more natural vibe, shiplap transforms a blank wall into a design statement.
Moreover, completing a DIY shiplap wall fosters a deeper appreciation for your home. It’s a hands-on experience that allows you to shape your living space in a meaningful way. Each plank you install becomes a testament to your effort and creativity, leaving a lasting impact that resonates every time you step into the room.
As you reflect on your finished project, you’ll find that it’s more than just a decorative feature. It’s a reminder of your ability to take on challenges, express your style, and create a home that feels uniquely yours. A shiplap wall is not just a trend but a timeless addition that will continue to bring you joy for years to come.

Rachel Branson is the creator of The Ponds Farmhouse, a blog dedicated to farmhouse décor and DIY projects. With a passion for helping readers create beautiful and unique homes that reflect their personal style, Rachel offers a variety of content, including simple and budget-friendly decorating ideas, DIY and craft projects, thrifting and vintage finds, and entertaining tips.
Throughout her life, Rachel has been an avid DIYer, always seeking budget-friendly ways to achieve high-end, boutique looks. She is fortunate to have the support of her husband, Brad, who assists with the heavy lifting and provides a voice of reason when new ideas arise. Their projects and decorating ideas have been featured in publications such as Farmhouse Style Magazine, American Farmhouse Magazine, and Real Simple.
Through The Ponds Farmhouse, Rachel shares her expertise and passion for farmhouse décor, inspiring readers to create homes they truly love.